Why Stone Garden Beds Are a Game-Changer
Contents
Listen up, because I’m about to drop some serious landscaping wisdom. Stone garden beds aren’t just pretty faces – they’re the superheroes of outdoor design. Here’s why:
Durability That Laughs in the Face of Time
- Virtually indestructible
- Withstands crazy weather conditions
- Looks better with age (like a fine wine)
Visual Drama That Stops Traffic
- Creates instant landscape focal points
- Adds texture and depth to your yard
- Works with virtually any garden style

Getting Started: What You’ll Need
Before you dive in, gather these essentials:
Must-Have Tools
- Heavy-duty gloves
- Shovel
- Wheelbarrow
- Level
- Landscape fabric
- Quality garden soil
Pro Tip Budget Breakdown
- Basic DIY project: $400-$600
- Professional installation: $800-$1,500
- Stone type impacts cost significantly

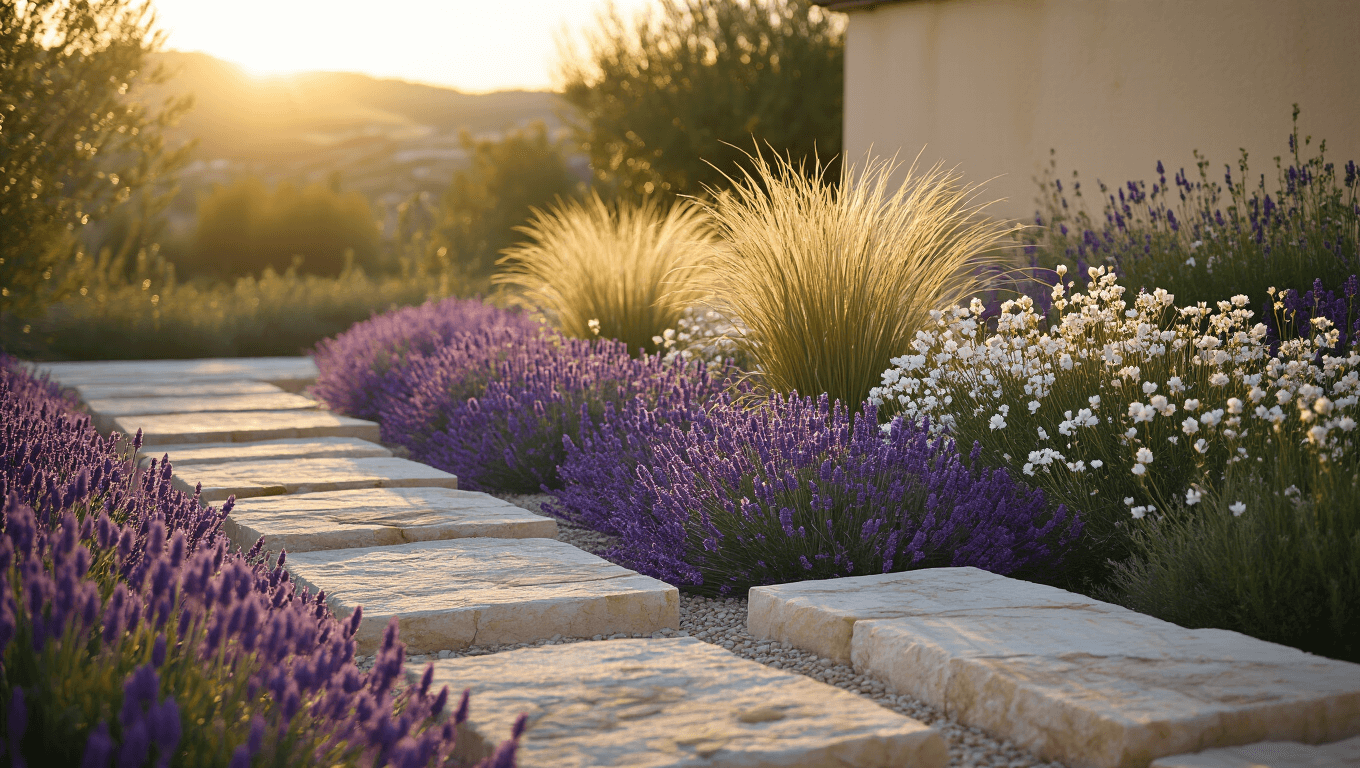
Design Considerations: Making It Look Incredible
Stone Selection Matters
- Natural stone colors: Gray, tan, brown
- Mix textures for visual interest
- Consider local stone for authentic look
Style Matching
Perfect for:
- Rustic gardens
- Mediterranean landscapes
- Modern minimalist designs
- Cottage-style yards

Step-by-Step Construction Guide
Preparation is Key
- Choose your location carefully
- Mark out precise bed dimensions
- Clear and level the ground
- Create a solid, compacted base
Stacking Techniques
- Start with largest, flattest stones at base
- Dry-stack for casual look
- Use mortar for permanent structure
- Ensure each layer is perfectly level

Plant Selection: Bringing Your Stone Bed to Life
Best Plants for Stone Garden Beds
- Succulents
- Alpine plants
- Herbs
- Drought-resistant perennials
Pro Placement Tips
- Consider sun exposure
- Group plants with similar water needs
- Create layers and depth

Maintenance: Keeping It Looking Spectacular
Quick Maintenance Checklist
- Annual soil refresh
- Check stone stability
- Trim surrounding plants
- Remove weeds promptly

Common Mistakes to Avoid
🚫 Don’t:
- Rush the base preparation
- Ignore drainage needs
- Overcrowd your plantings
- Use inappropriate stone types

Final Thoughts
A stone garden bed isn’t just a landscaping feature – it’s an investment in your home’s beauty and functionality. With some planning, creativity, and elbow grease, you’ll create an outdoor masterpiece that’ll make your property shine.
Ready to get started? Your dream garden awaits!
Pro Tip: Take before and after photos. Trust me, you’ll want to show off your incredible transformation.
This post may contain affiliate links. Please see my disclosure policy for details.