Kitchen Island Ideas That’ll Make Your Space Work Harder (And Look Better)
Contents
Kitchen island ideas start with understanding one simple truth: your island isn’t just another counter—it’s the hardest-working piece of real estate in your entire home.
I learned this the hard way when I crammed a too-large island into my first kitchen renovation, turning what should’ve been a cooking paradise into an obstacle course where I bruised my hips daily on sharp corners.
You’re probably wondering whether your kitchen can even handle an island, or maybe you’ve got one already but it’s just… sitting there, looking pretty but doing absolutely nothing useful.
Let me walk you through everything I’ve discovered about making kitchen islands actually earn their keep.
Why Your Kitchen Layout Matters More Than You Think
Your kitchen’s shape dictates everything about your island placement, and ignoring this is like forcing a square peg into a round hole.
U-Shaped Kitchens: The Symmetry Sweet Spot
Position your island parallel to the longest sides of your U-shape.
This creates natural symmetry that feels right the moment you walk in.
The golden rule: maintain 3–4 feet between your island and surrounding countertops.
Any less and you’re playing chicken every time someone opens the dishwasher while you’re grabbing something from the fridge.
I’ve seen too many gorgeous islands become kitchen roadblocks because someone thought they could squeeze by with 30 inches of clearance.
For compact U-shaped kitchens, skip the permanent fixture entirely and grab a mobile kitchen island with a couple of stools.
You get flexibility without sacrificing your ability to actually move around.
L-Shaped Kitchens: Creating Your Visual Anchor
Place your island opposite the longer leg of the L.
This maximizes flow and gives your eye somewhere interesting to land when you enter the room.
Here’s a trick most designers won’t tell you: position your island diagonally to open up the floor plan while keeping the work triangle intact.
Use an elongated oval shape for diagonal placement—it softens the angles and prevents those hip-bruising corners I mentioned earlier.
Galley Kitchens: Working With What You’ve Got
Galley kitchens are tricky beasts.
Consider a waterfall countertop for a sleek, modern look that doesn’t visually clutter your narrow space.
Use stools that tuck fully under the island to maintain open walkways.
Counter-height bar stools that slide completely out of sight make a massive difference in tight quarters.
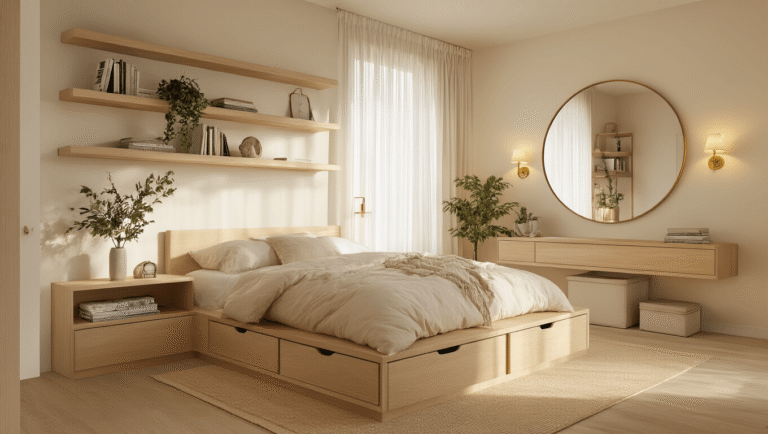
Storage That Actually Makes Sense
A kitchen island without smart storage is just an expensive table.
Let’s fix that.
The Storage Features That Changed Everything for Me
Pull-out shelves saved my lower back and my sanity.
No more getting on my hands and knees to fish out that one pot hiding in the back.
Everything slides forward with a gentle tug.
Hidden compartments keep my counters clear.
My stand mixer lives in a lift-up cabinet that raises it to counter height when I need it, then disappears when I don’t.
Game changer.
Drawer dividers turned my junk drawer into an actual organizational system.
I installed adjustable drawer organizers and suddenly every spatula has a home.
Integrated wine racks serve double duty—practical storage that looks elegant enough to show off.
Corner storage solutions like lazy Susans or pull-out drawers maximize those weird dead spaces that otherwise collect dust and forgotten Tupperware lids.
Open shelving for displaying cookbooks, decorative jars, or that herb garden you keep meaning to actually use.
Vertical Thinking Wins Every Time
Think up, not just out:
- Hanging hooks under the overhang for mugs or utensils
- Pull-out spice racks that use those skinny 6-inch gaps
- USB charging stations built right into the side panels
- Towel bars on the ends (why doesn’t everyone do this?)
Seating That Doesn’t Feel Like an Afterthought
Allow approximately 2 feet of width per person unless you enjoy elbowing your breakfast companion in the ribs.
You need at least 12 inches of overhang for knee space.
Trust me—I once sat at an island with only 8 inches of overhang and my knees were jammed against cabinet doors the entire meal.
Your Seating Options
Bar stools for casual dining—keep comfortable padded bar stools on hand if people actually use this space daily.
Built-in benches create cozy breakfast nook vibes.
Home office conversion—yes, your island can absolutely double as a workspace (I’m writing this from mine right now).
Strategic positioning matters: face your seating toward living or dining areas in open-concept layouts so people don’t stare at a wall.
Here’s a construction trick that blew my mind: build a 42-inch-deep island using two rows of 15-inch-deep back-to-back cabinets.
You get 30 inches of storage with 12 inches of overhang for dining stools—perfect proportions without custom cabinetry.
Design Moves That Elevate Everything
Your island should look as good as it functions.
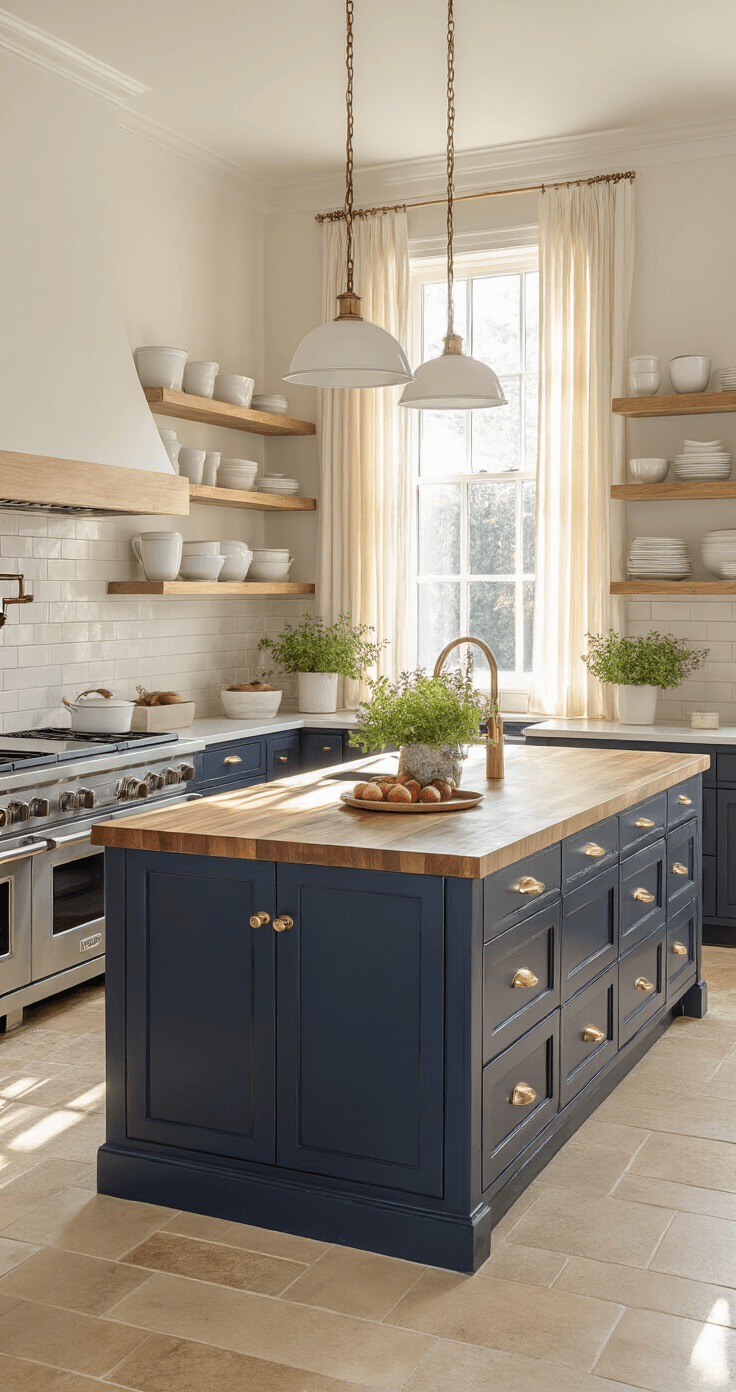
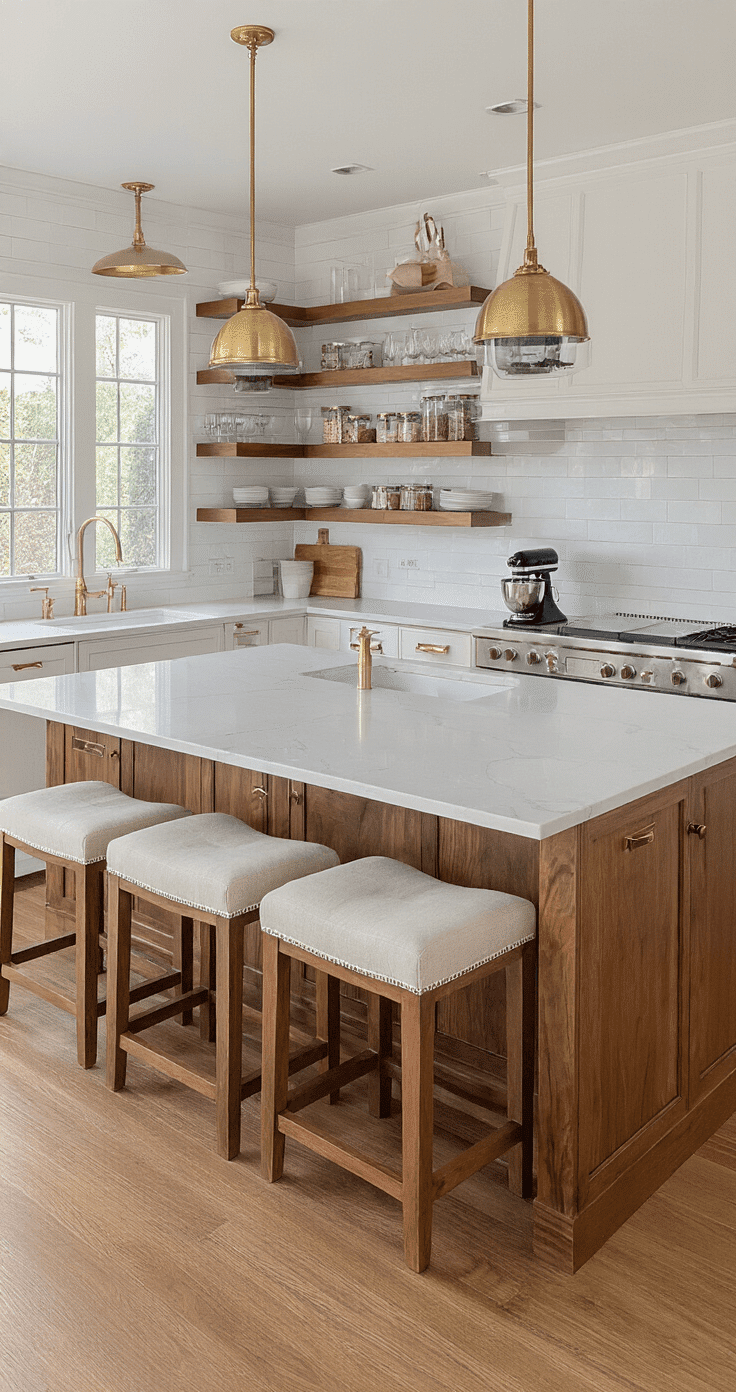
Mixed Materials Make Magic
Pair a wood-topped island with stone countertops elsewhere in the kitchen.
The contrast creates visual interest without overwhelming the space.
I went with butcher block on my island and quartz on my perimeter counters—the warmth of wood against cool stone makes the whole room feel more intentional.
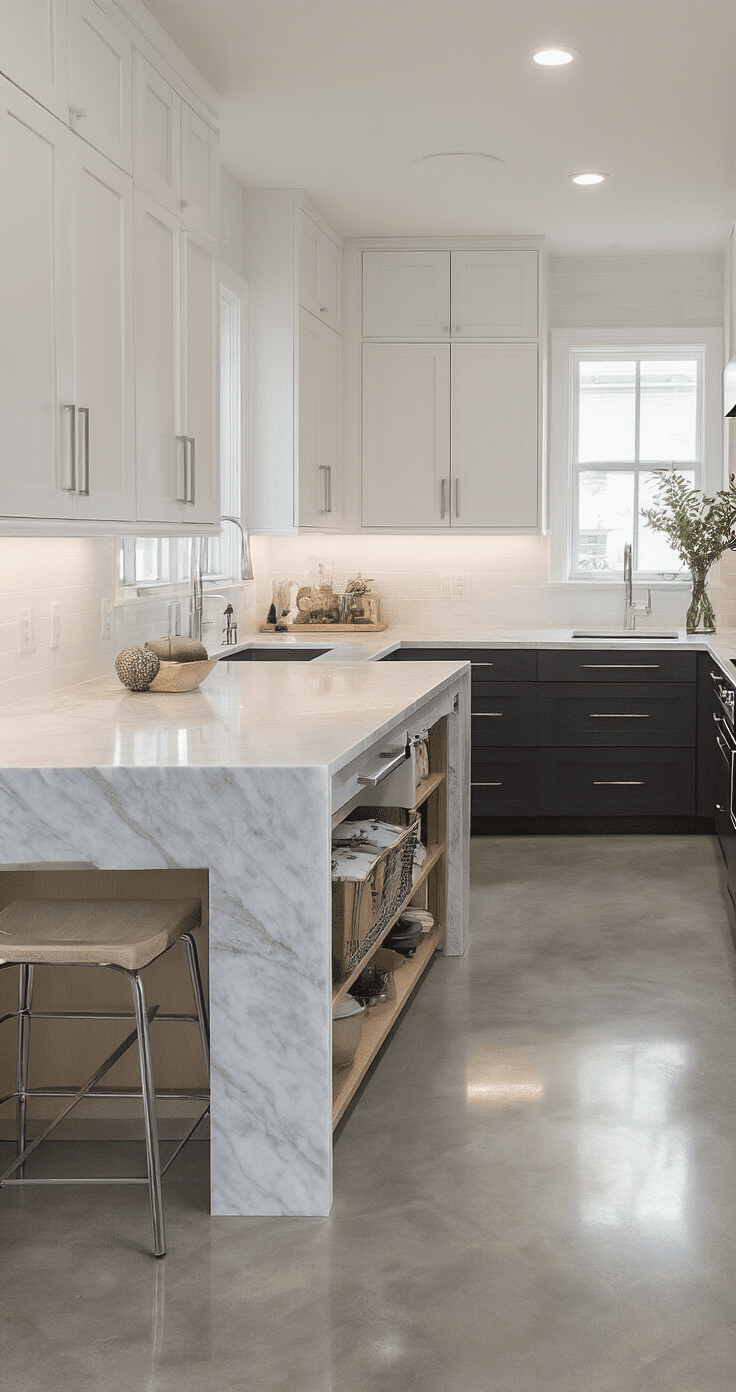
Waterfall Countertops
These seamless edges that cascade down the sides give you that modern, high-end look.
Fair warning: they cost more and you’ll lose some storage where the waterfall falls, but the visual impact is stunning.
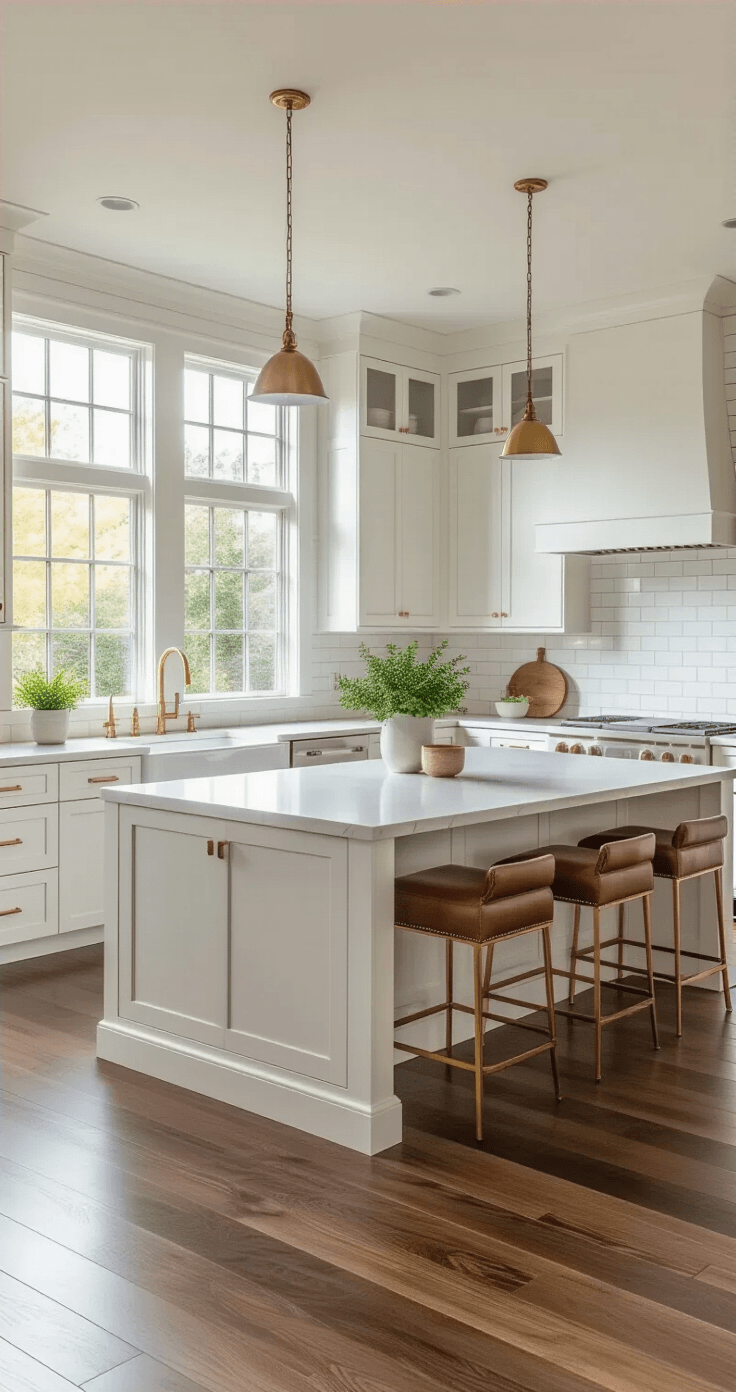
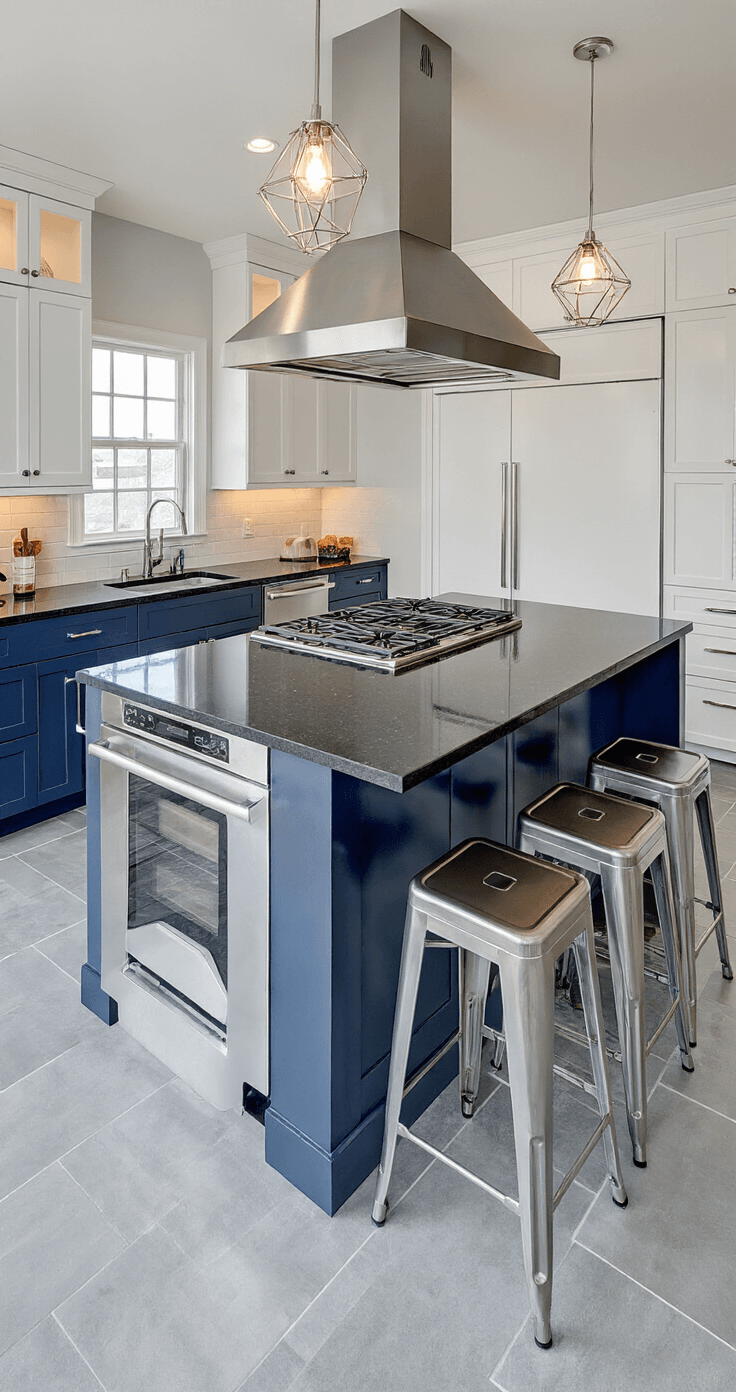
Contrasting Colors Create Focal Points
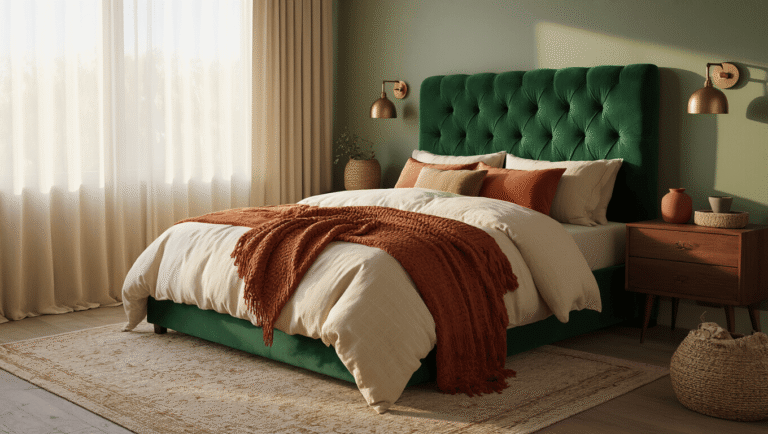
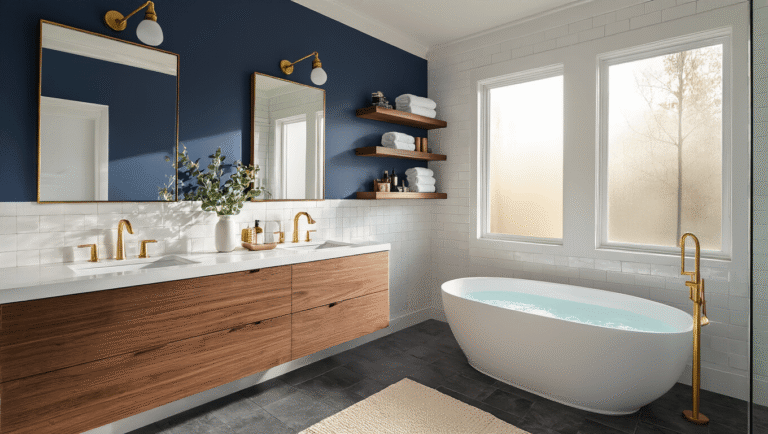
If your cabinets are white, paint your island navy or forest green.
If everything’s dark, go light on the island.
Make it the star of the show instead of letting it blend into the
This post may contain affiliate links. Please see my disclosure policy for details.