Why Your Tree Topper Matters More Than You Think
Contents
Let’s be real – the top of your Christmas tree is like the crown jewel of holiday decorating. It’s that final touch that transforms a basic tree into a magical holiday centerpiece. Whether you’re a DIY enthusiast or a total novice, I’ve got the ultimate guide to help you nail your tree topper game.
Topper Styles That Will Blow Your Mind
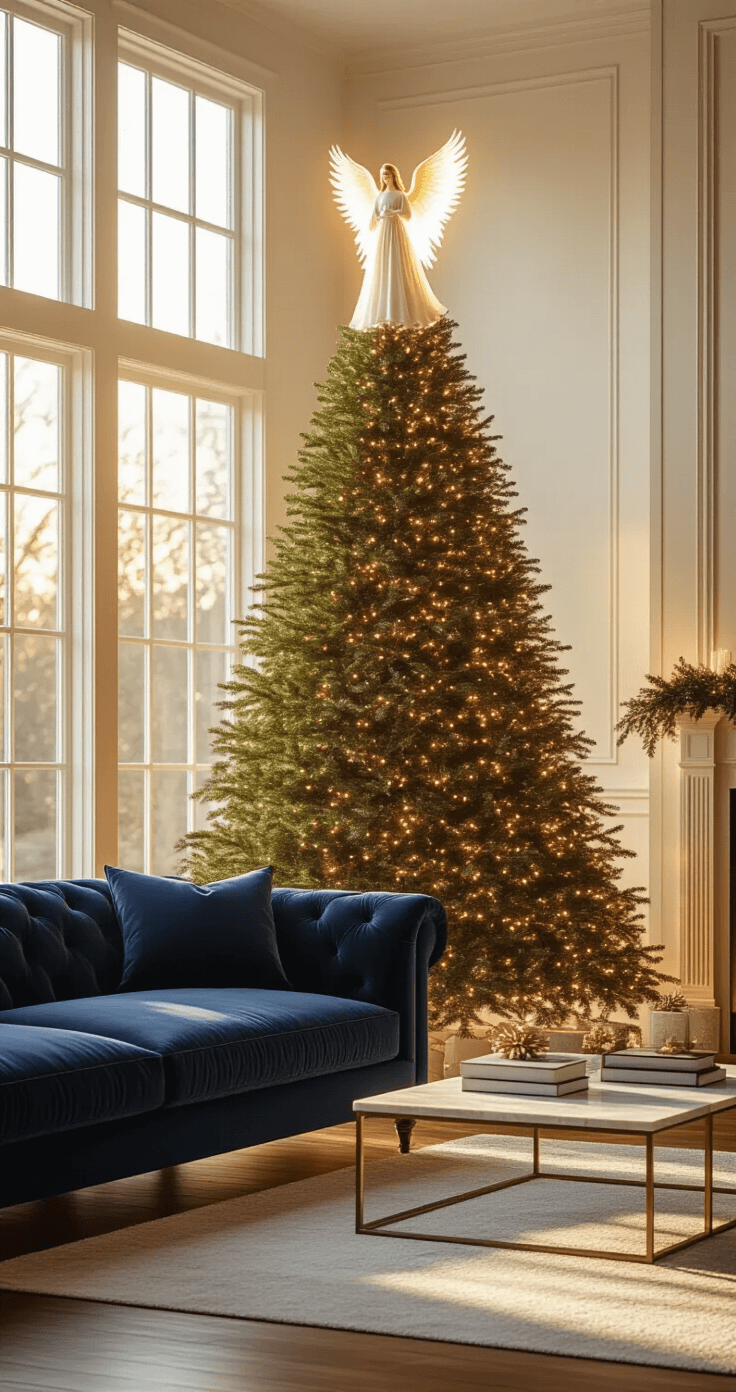
1. Classic Angel Toppers
These celestial beauties never go out of style. Pro tip: Look for pre-lit angel tree topper options that add instant sparkle to your tree.
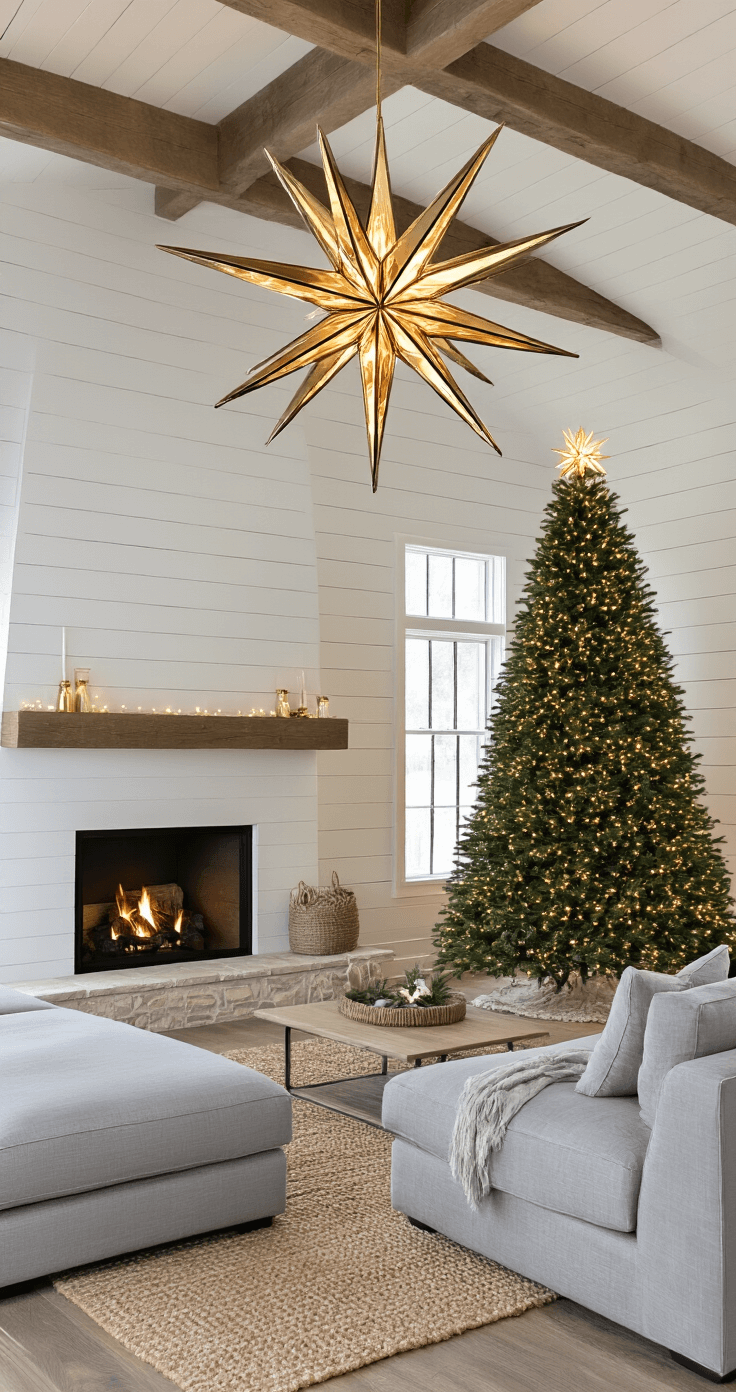
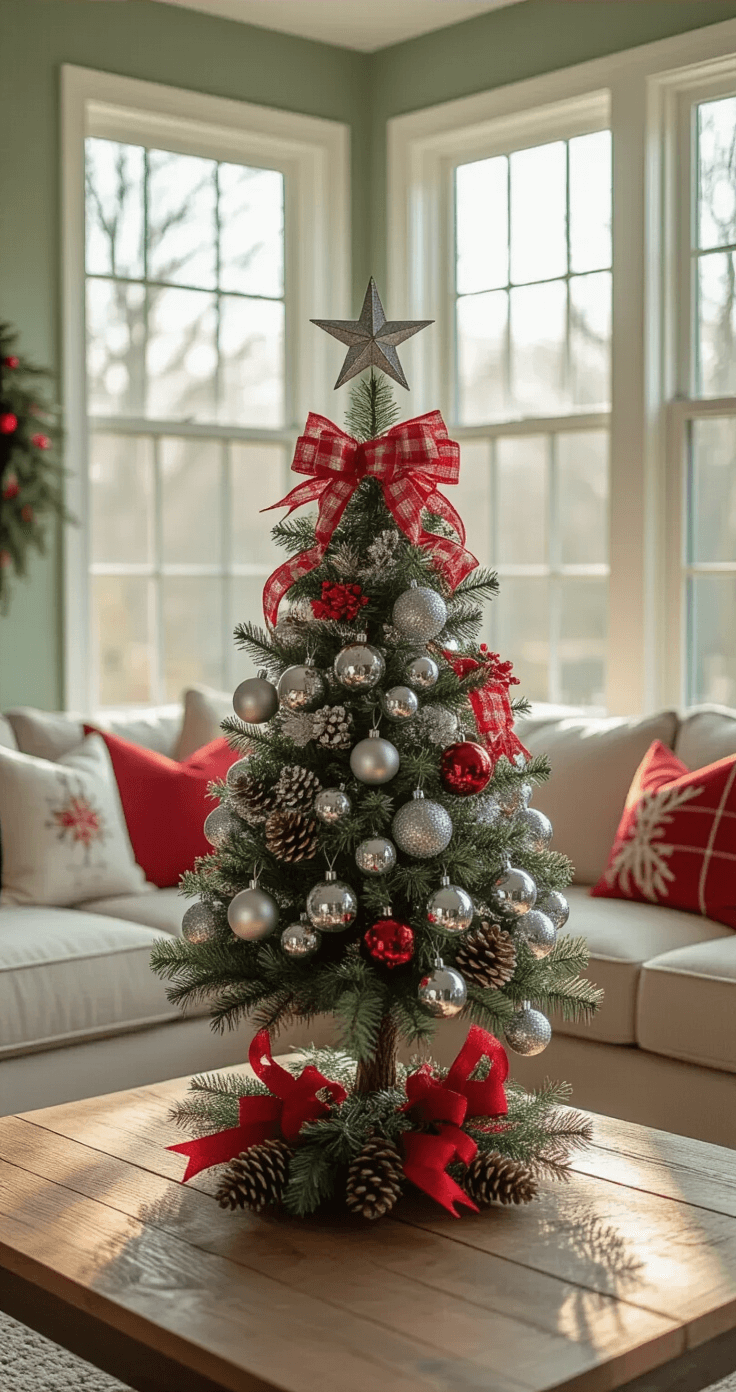
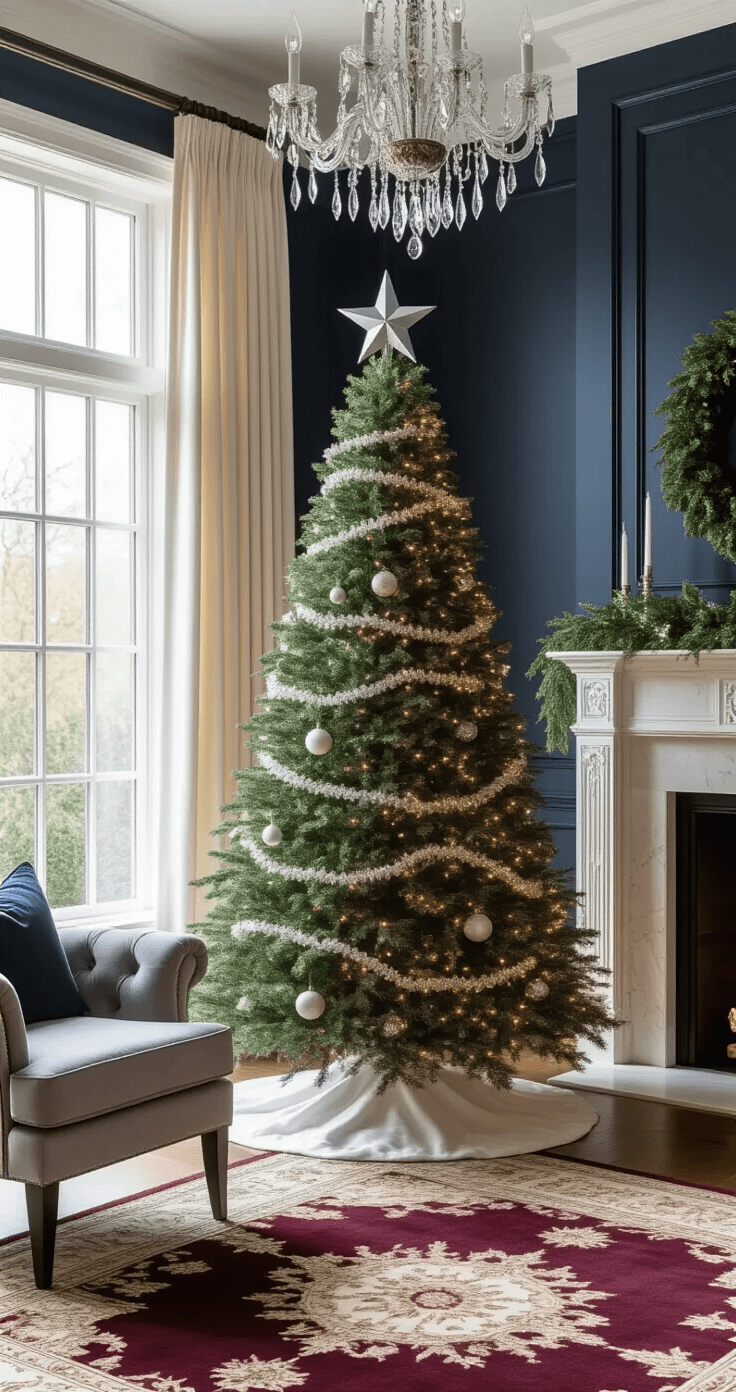
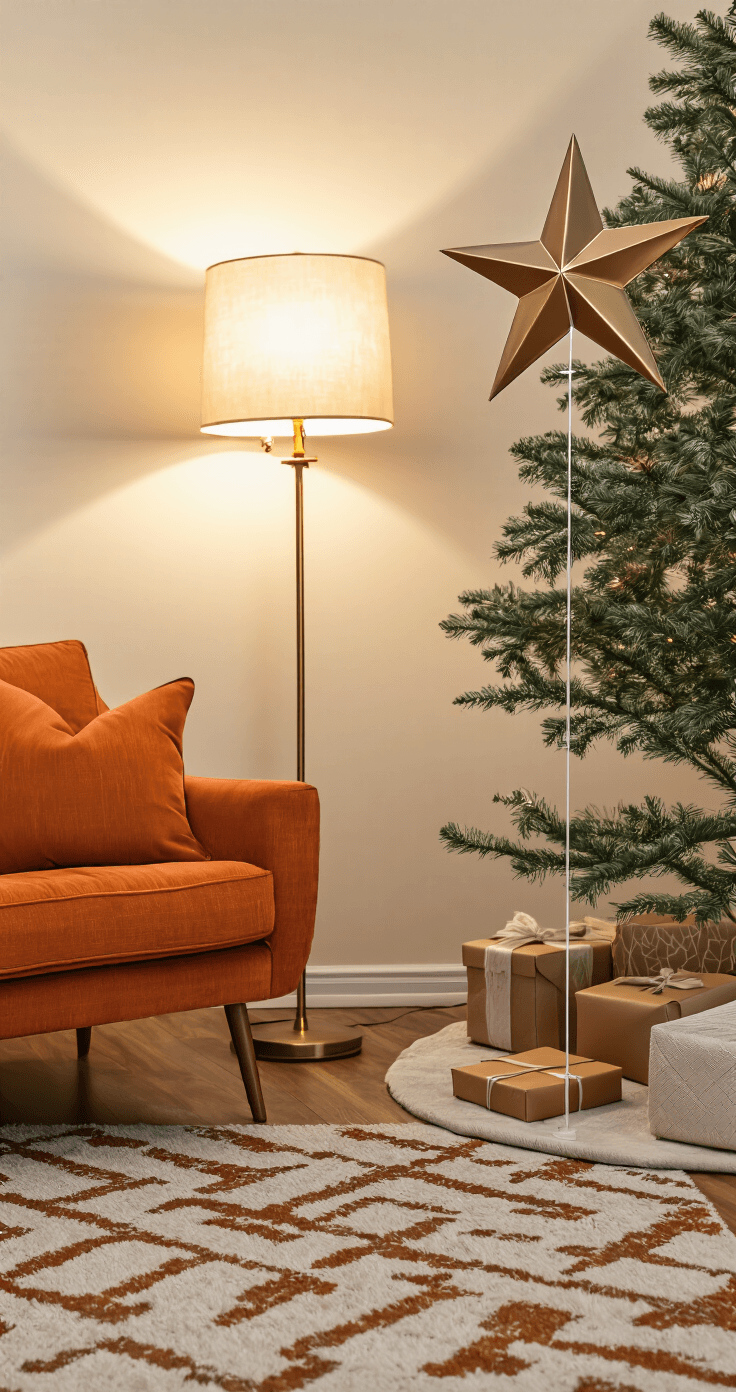
2. Star Power
Nothing says “holiday magic” like a stunning star. My favorite? Glittery metallic star toppers that catch the light and make your tree pop!
3. Budget-Friendly DIY Magic
Who says you need to spend a fortune? With just a few dollar store ornaments, you can create a showstopping topper that looks like a million bucks.
🏠 Steal This Look
- Paint Color: Sherwin-Williams Alabaster SW 7008
- Furniture: slipcovered linen sofa in natural ivory, reclaimed wood coffee table with live edge, vintage brass floor lamp with drum shade
- Lighting: oversized rattan pendant with warm Edison bulb, clustered fairy lights in clear glass hurricanes
- Materials: chunky knit wool throws, velvet ribbon garlands, mercury glass ornaments, dried orange slices, cinnamon stick bundles
There’s something deeply satisfying about that final moment when the topper clicks into place and the whole room suddenly feels complete—it’s the decorating equivalent of tying a perfect bow.
DIY Topper Tutorial: Prepare to Be Amazed
What You’ll Need:
- Zip ties
- Wire cutters
- Festive picks
- Glitter spray (optional)
- Ribbon
- Creativity (the most important ingredient!)
Step-by-Step Magic:
1. Foundation is Everything
Start with a sturdy base pick or ornament. Create depth by layering different textures and colors. Pro hack: Zip tie your elements together for maximum stability.
2. Create Dimension
Don’t just lay picks flat – weave them through branches. Mix metallic and matte finishes for visual interest. Play with height and positioning.
3. Hide the Evidence
Cover zip ties with ribbon or tinsel. Ensure no mechanical elements are visible.
🌟 Steal This Look
- Paint Color: Benjamin Moore Chantilly Lace OC-65
- Furniture: craft table with built-in storage pegboard
- Lighting: adjustable LED task lamp with daylight temperature
- Materials: burlap ribbon, galvanized wire, frosted greenery picks, copper metallic spray
There’s something deeply satisfying about guests asking where you bought your topper and getting to say ‘I made that’—this is the project that converts craft skeptics into holiday DIY believers.
🛒 Get The Look
Pro Styling Secrets
Proportion is Key
Small tree (4-6 feet): 8-12 inch topper. Larger trees (7-8 feet): 14-18 inch statement piece.
Stability Matters
Use clear fishing line to secure wobbly toppers. Gently shake the tree to test stability. Adjust until perfect!

Budget-Friendly Hacks
- Repurpose last year’s topper with new ribbon
- Mix store-bought elements with DIY touches
- Shop end-of-season sales for incredible deals
💡 Steal This Look
- Paint Color: Farrow & Ball All White 2005
- Furniture: slipcovered linen sofa in natural oatmeal, reclaimed wood coffee table with live edge
- Lighting: oversized linen drum pendant with brass hardware
- Materials: raw Belgian linen, aged brass, weathered oak, hand-thrown ceramics, velvet ribbon in deep forest green
There’s something quietly satisfying about that final moment when the topper settles into place—it’s the signature on your holiday canvas, the detail that transforms a decorated tree into a finished story.
Instagram-Worthy Styling Tips
Photograph from slightly below. Capture evening shots for maximum twinkle. Use natural light to highlight textures.
Sharing Your Masterpiece
Craft a caption that tells a story:
- “DIY Tree Topper That Cost Less Than $20!”
- “Turning Dollar Store Finds into Holiday Magic”
- “How I Created My Dream Christmas Tree Topper”
🏠 Steal This Look
- Paint Color: Behr Ultra Pure White PPU18-06
- Furniture: minimalist white floating shelves for prop styling and backdrop
- Lighting: ring light with adjustable warm-to-cool settings for consistent content creation
- Materials: matte white surfaces, natural wood accents, and metallic reflective props for light bounce
There’s something genuinely thrilling about nailing that one shot where the light hits just right and your handmade topper looks magazine-worthy—I’ve spent entire evenings chasing that golden hour glow through my living room window.
Final Thoughts
Your tree topper is more than just a decoration – it’s a statement. It’s your chance to showcase your creativity, style, and holiday spirit. Whether you go traditional or totally wild, make it uniquely YOU.
Remember: There are no rules in holiday decorating – only opportunities for magic!
Pro Tip: Take photos of your creation and tag me! I’m always looking for holiday inspiration.
Happy decorating, friends! 🎄✨
This post may contain affiliate links. Please see my disclosure policy for details.