Why Most Kids’ Room Styling Fails (And How to Actually Make It Work)
Contents
- Why Most Kids’ Room Styling Fails (And How to Actually Make It Work)
- The Three-Hour Transformation: What You Actually Need
- Smart Storage: The Non-Negotiable Foundation
- Color Palettes That Photograph Well and Age Gracefully
- Wall Interest: The Fastest Way to Transform Any Room
- The Bed: Your Hero Shot Every Single Time
Listen, I’ve seen parents drop serious cash on designer kids’ furniture only to have the room look like a tornado hit by day three. The problem isn’t your child. It’s styling for Instagram instead of real life.
A Pinterest-worthy kids’ room needs to do double duty—it has to photograph beautifully AND survive actual children. That means storage that actually stores things, surfaces you can wipe down, and a layout that doesn’t require a PhD to maintain.
When I first started creating kids’ room content, I made every mistake in the book. Styled those gorgeous woven storage baskets with toys artfully spilling out, then watched a four-year-old dump the entire contents on the floor within seconds. Now I know better.
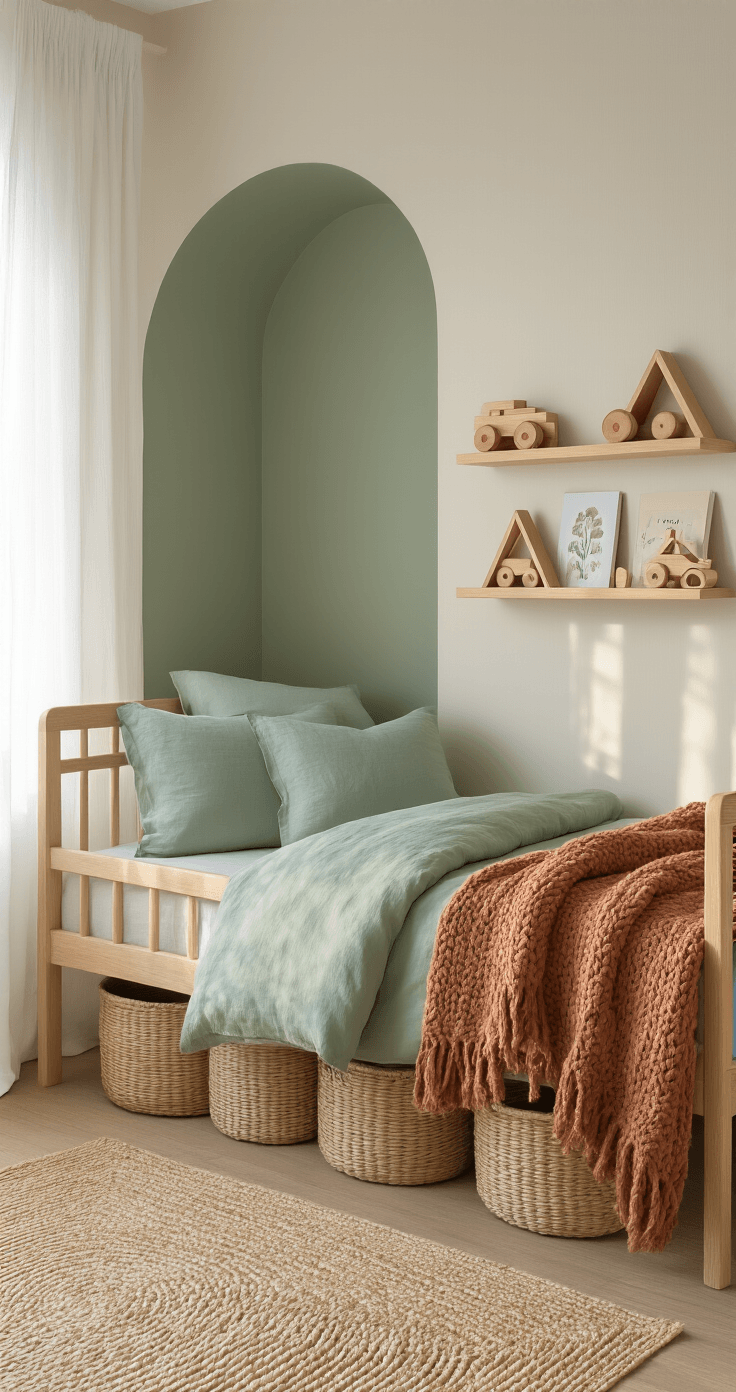
The Three-Hour Transformation: What You Actually Need
Here’s the truth about timing:
A corner vignette takes 1-3 hours to style and shoot properly. A full room refresh? You’re looking at 3-6 hours once you factor in decluttering, rearranging furniture, and actually making decisions instead of standing there second-guessing your paint samples.
Total content creation time from styling to posting runs 4-8 hours. That includes photography, editing, writing descriptions, and scheduling pins.
Budget reality check:
- Styling refresh only: $100-300 (bedding, decor, wall art)
- Including furniture pieces: $300-800 (bed frame, shelving, play table)
- Full transformation: $500-1,000+ (everything above plus paint, lighting, rugs)
You don’t need the top end to create stunning content. I’ve shot rooms that went viral using mostly thrifted pieces and smart styling.
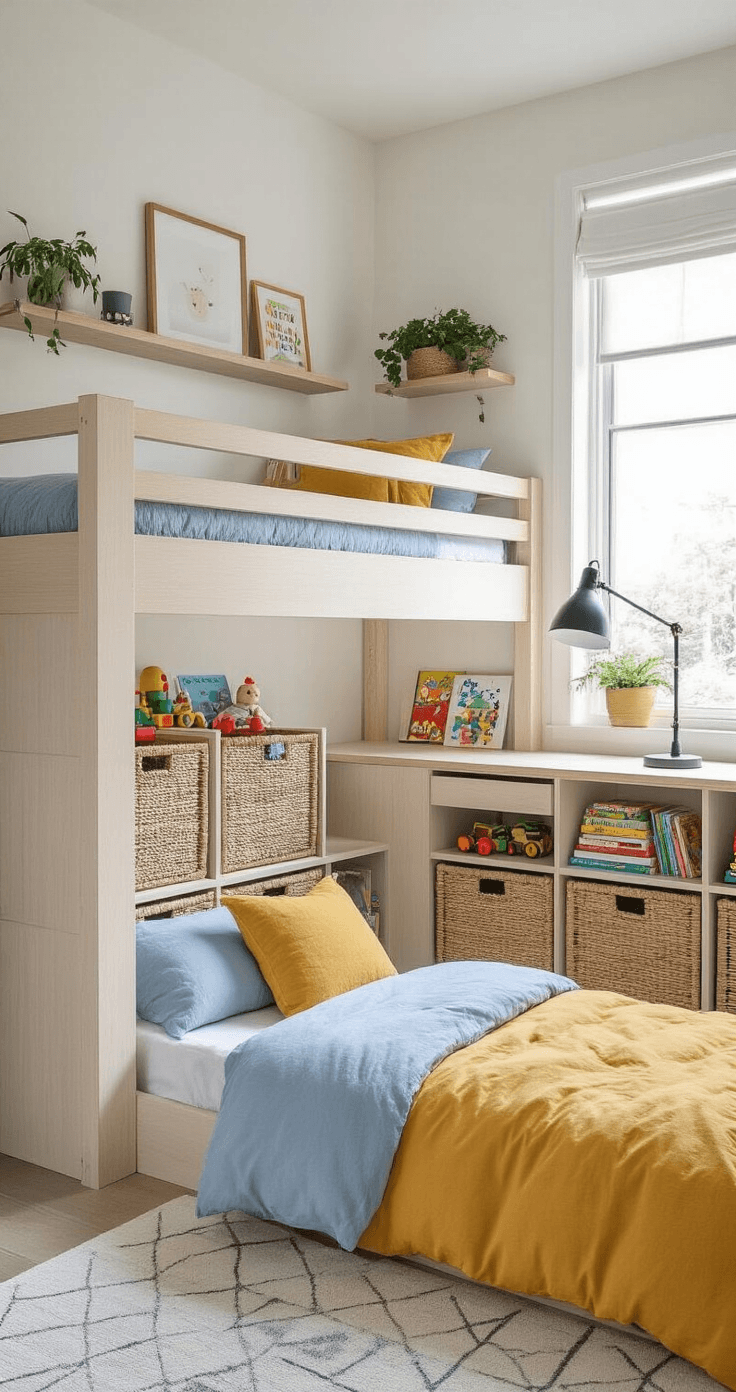
Smart Storage: The Non-Negotiable Foundation
Small rooms and shared spaces need storage that works overtime. Not cute storage that looks good empty. Storage that actually swallows toys, books, craft supplies, and that weird rock collection your kid insists on keeping.
Multi-functional furniture saves your sanity:
- Beds with built-in drawers underneath
- Ottoman storage benches that double as seating
- Desks that fold away or extend as kids grow
- Bunk beds with desk space underneath for tiny rooms
- Nightstands with shelves and compartments, not just flat surfaces
I learned this the hard way in a 10×10 shared room for two boys. Every piece had to earn its place by doing at least two jobs. The bed had storage drawers. The desk folded up. The “nightstand” was actually a small bookshelf turned sideways. That room photographed beautifully AND stayed functional for years.
Color Palettes That Photograph Well and Age Gracefully
Forget decorating in primary colors unless you want to repaint in two years.
Start with this base:
- Soft whites or warm off-whites for walls
- Warm neutrals or pale grey for larger furniture
- Natural wood tones for grounding
Then add your accent colors:
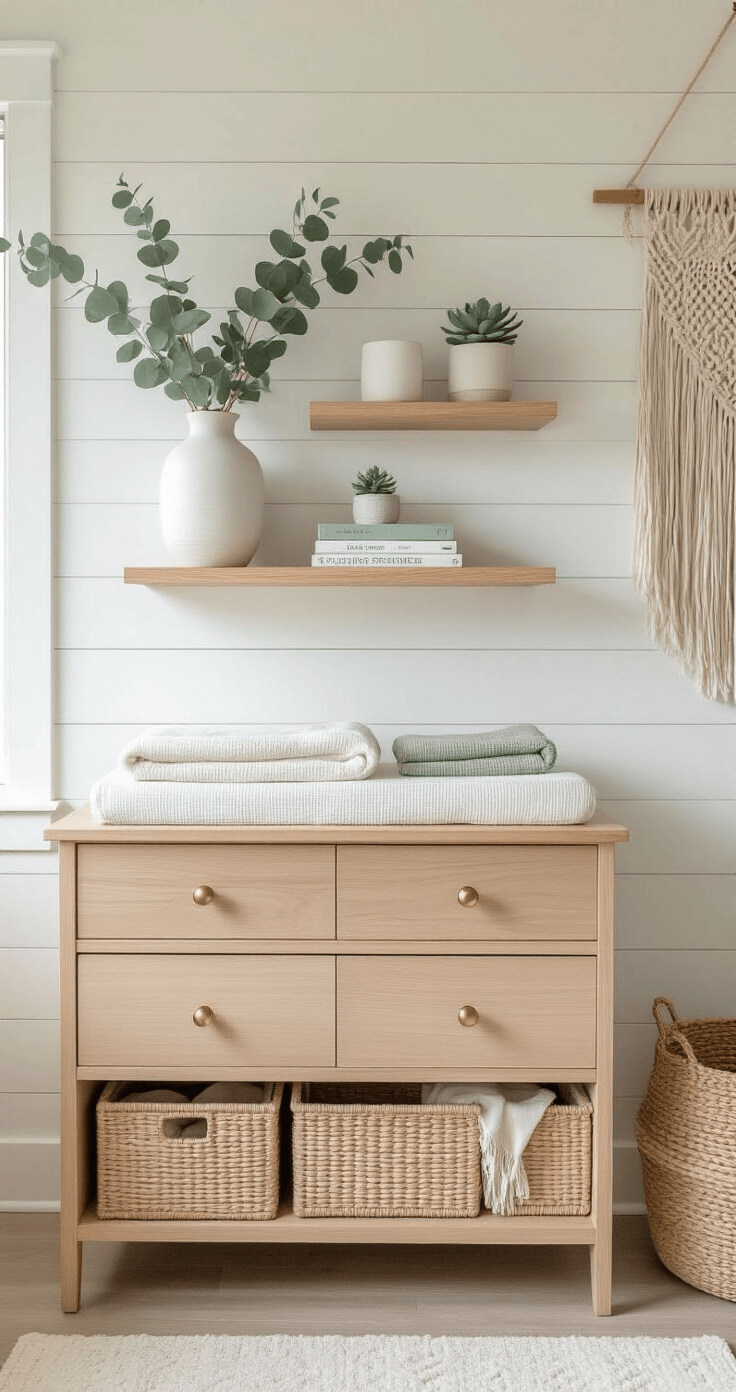
Calming blues and greens work for almost any age and photograph gorgeously in natural light. I’m talking sage, dusty blue, seafoam, soft teal. Add pops of warmth with mustard yellow, blush pink, terracotta, or burnt orange in pillows, art, and smaller decor.
The formula I use:
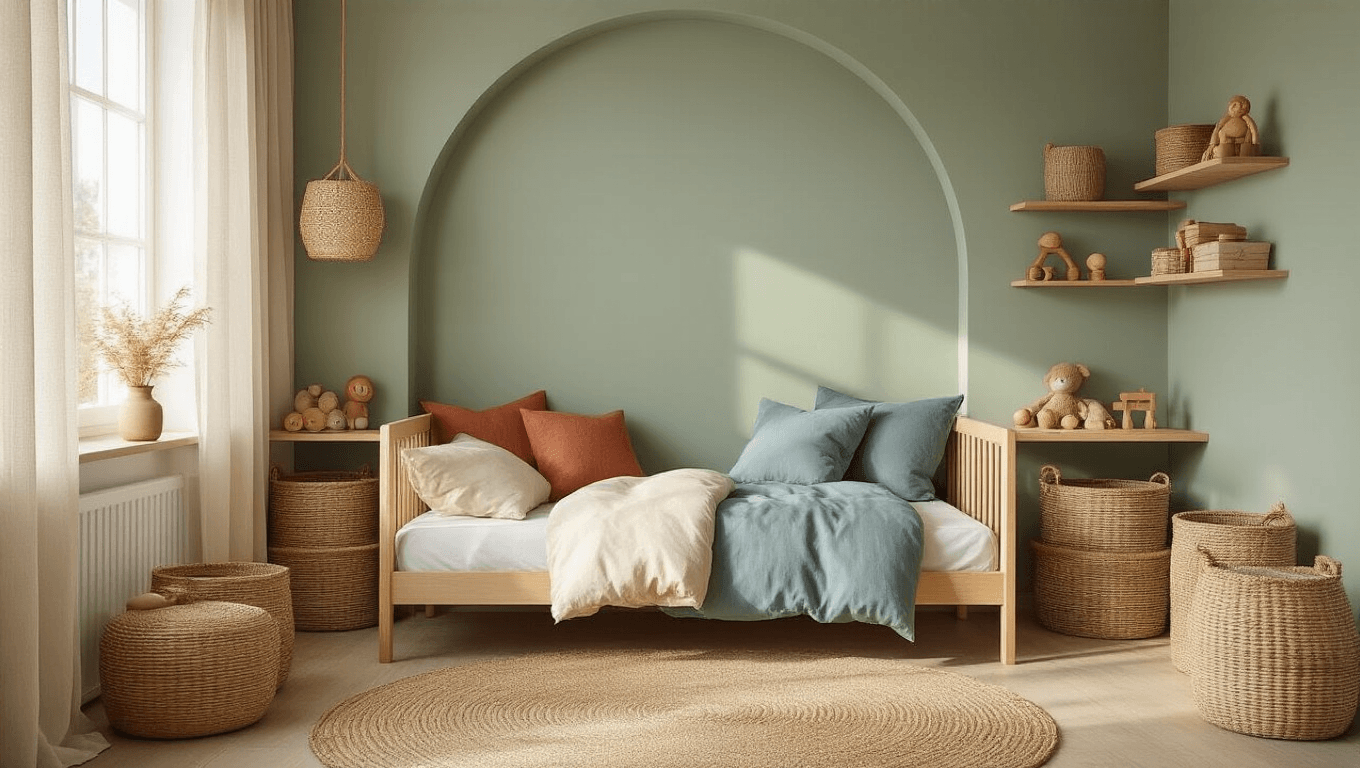
Pick 1-2 main colors + 1-2 accent colors. Repeat them throughout the room in bedding, art, storage bins, and textiles. This creates visual cohesion that reads instantly in photos. A sage green duvet with dusty blue pillows, natural wood furniture, white walls, and terracotta accents in artwork and decorative storage boxes? That’s a room that photographs well today and still looks good in five years.
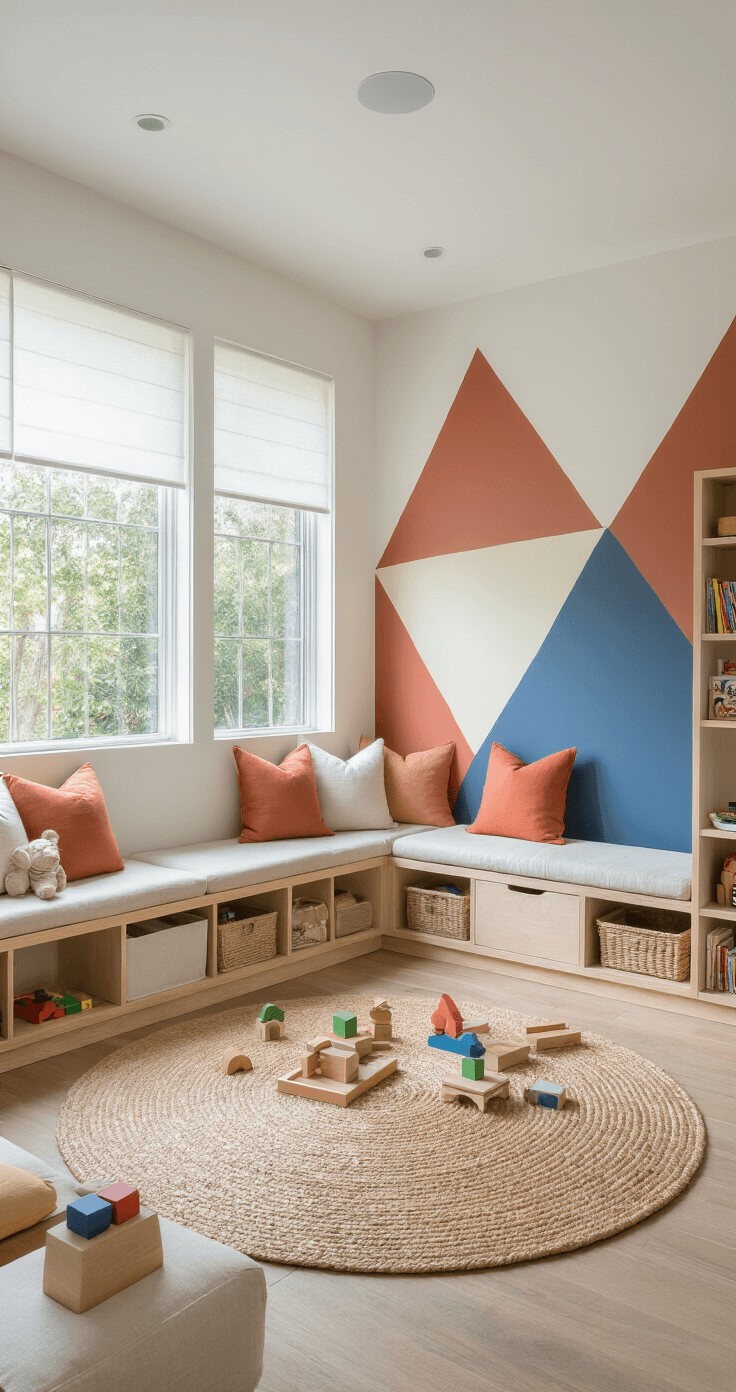
Wall Interest: The Fastest Way to Transform Any Room
Paint one wall differently and watch the whole room level up.
Easy statement wall ideas:
- Two-tone walls: Paint the bottom half sage, top half white
- Painted arches: Simple arch shape behind the bed in a soft color
- Color blocks: Geometric shapes in complementary colors
- Removable wallpaper: Peel-and-stick options for renters
- Wall decals: Quick, damage-free, changeable
I painted a simple arch behind my daughter’s bed in under an hour. Used painter’s tape, a pencil tied to string as a compass, and two coats of dusty rose paint. Cost me $30 and transformed every single photo of that room.
Gallery walls work if you follow rules:
- Start with 3-5 pieces, not seventeen tiny frames scattered randomly.
- Mix frame sizes but keep a consistent style (all wood, all white, all black).
- Maintain equal spacing between frames—about 2-3 inches.
- Keep the arrangement within an imaginary rectangle or square shape.
I use removable picture hanging strips for kids’ rooms so I can adjust without making the walls look like Swiss cheese.
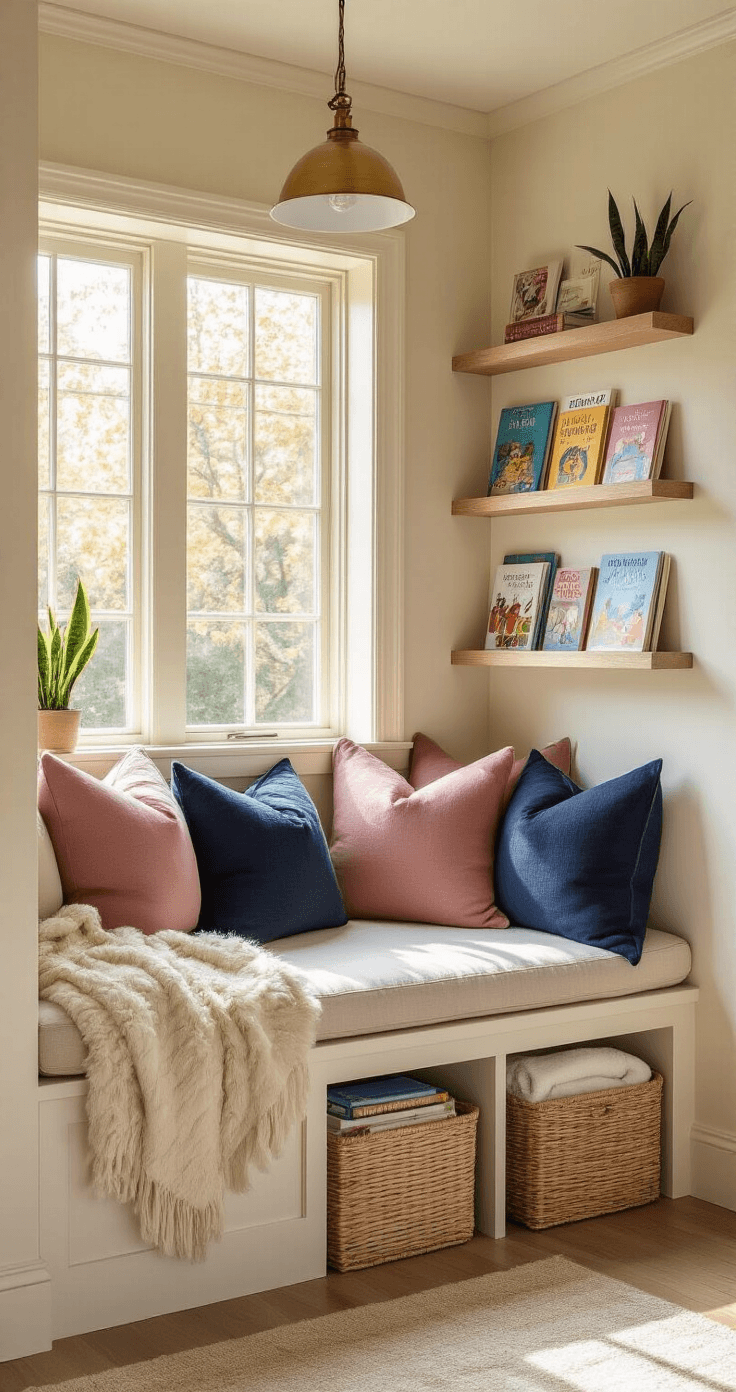
The Bed: Your Hero Shot Every Single Time
The bed is your focal point, your anchor, your money shot. Get this right and half your content is done.
Layering bedding like you mean it:
- Start with fitted sheet (obviously)
- Add flat sheet or skip it (kids kick them off anyway
This post may contain affiliate links. Please see my disclosure policy for details.